When my mum recently dropped over a big bag of old fabrics I didn�t have much hope for what would be in there. But I found some gorgeous tulle and decided to get crafty! Frankie has been really into...
When my mum recently dropped over a big bag of old fabrics I didn�t have much hope for what would be in there. But I found some gorgeous tulle and decided to get crafty!
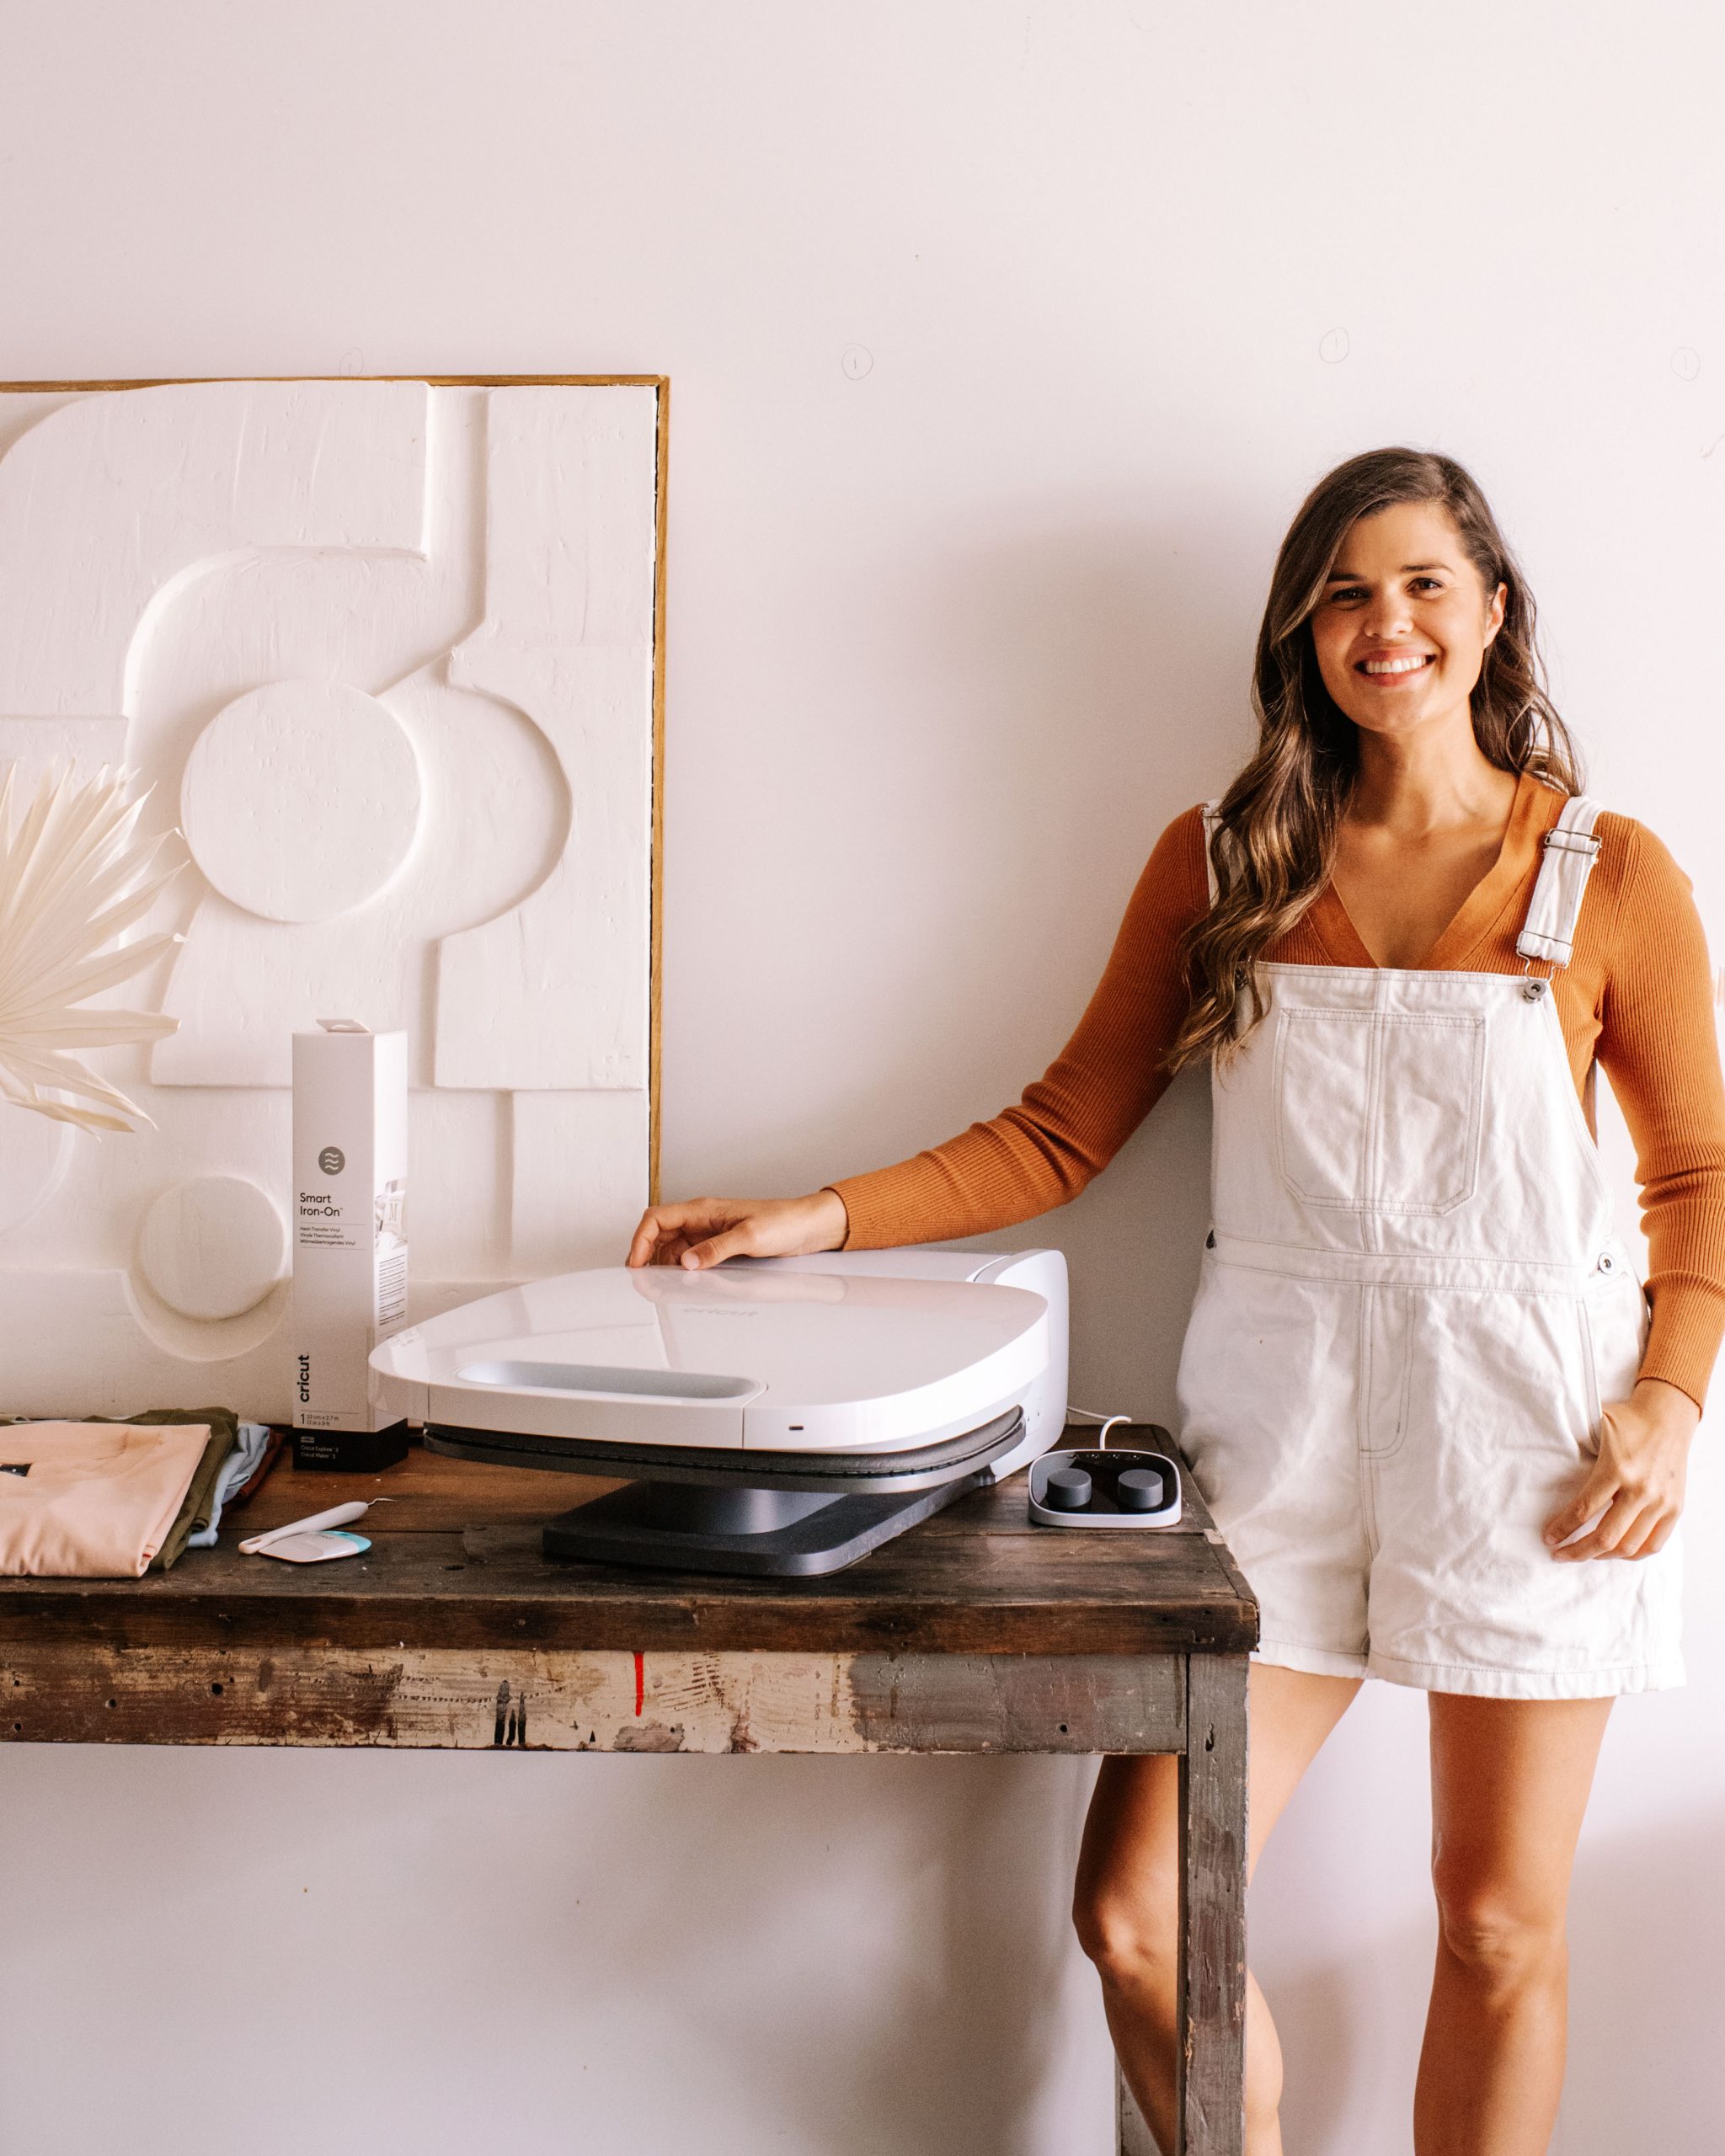
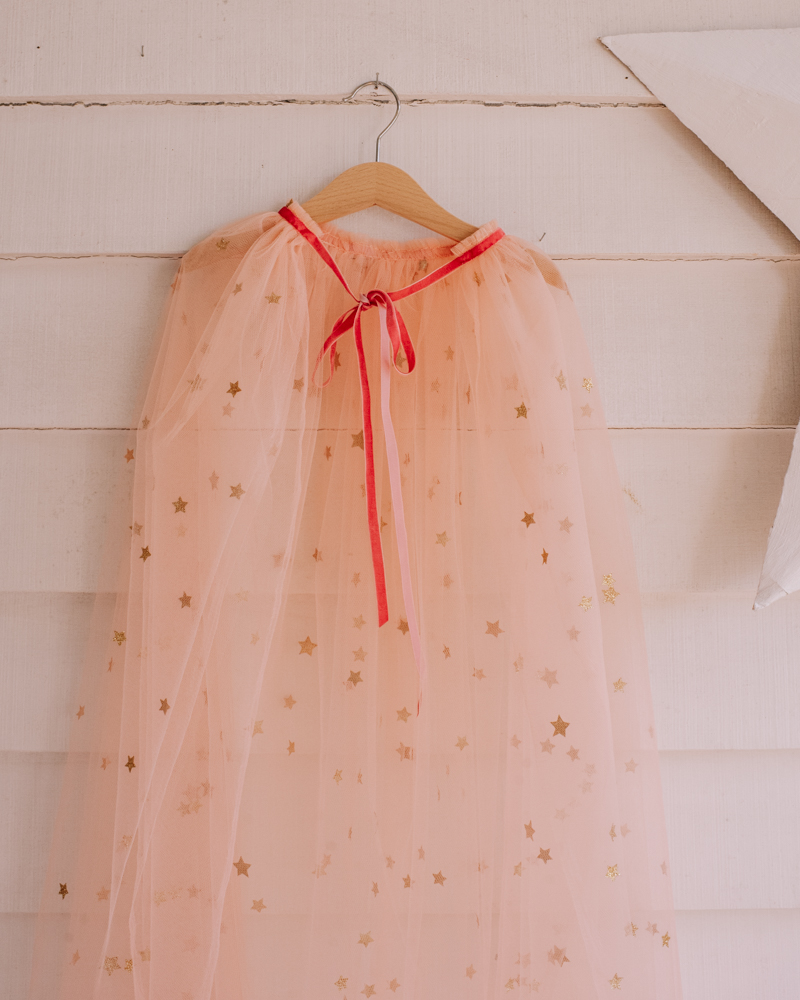
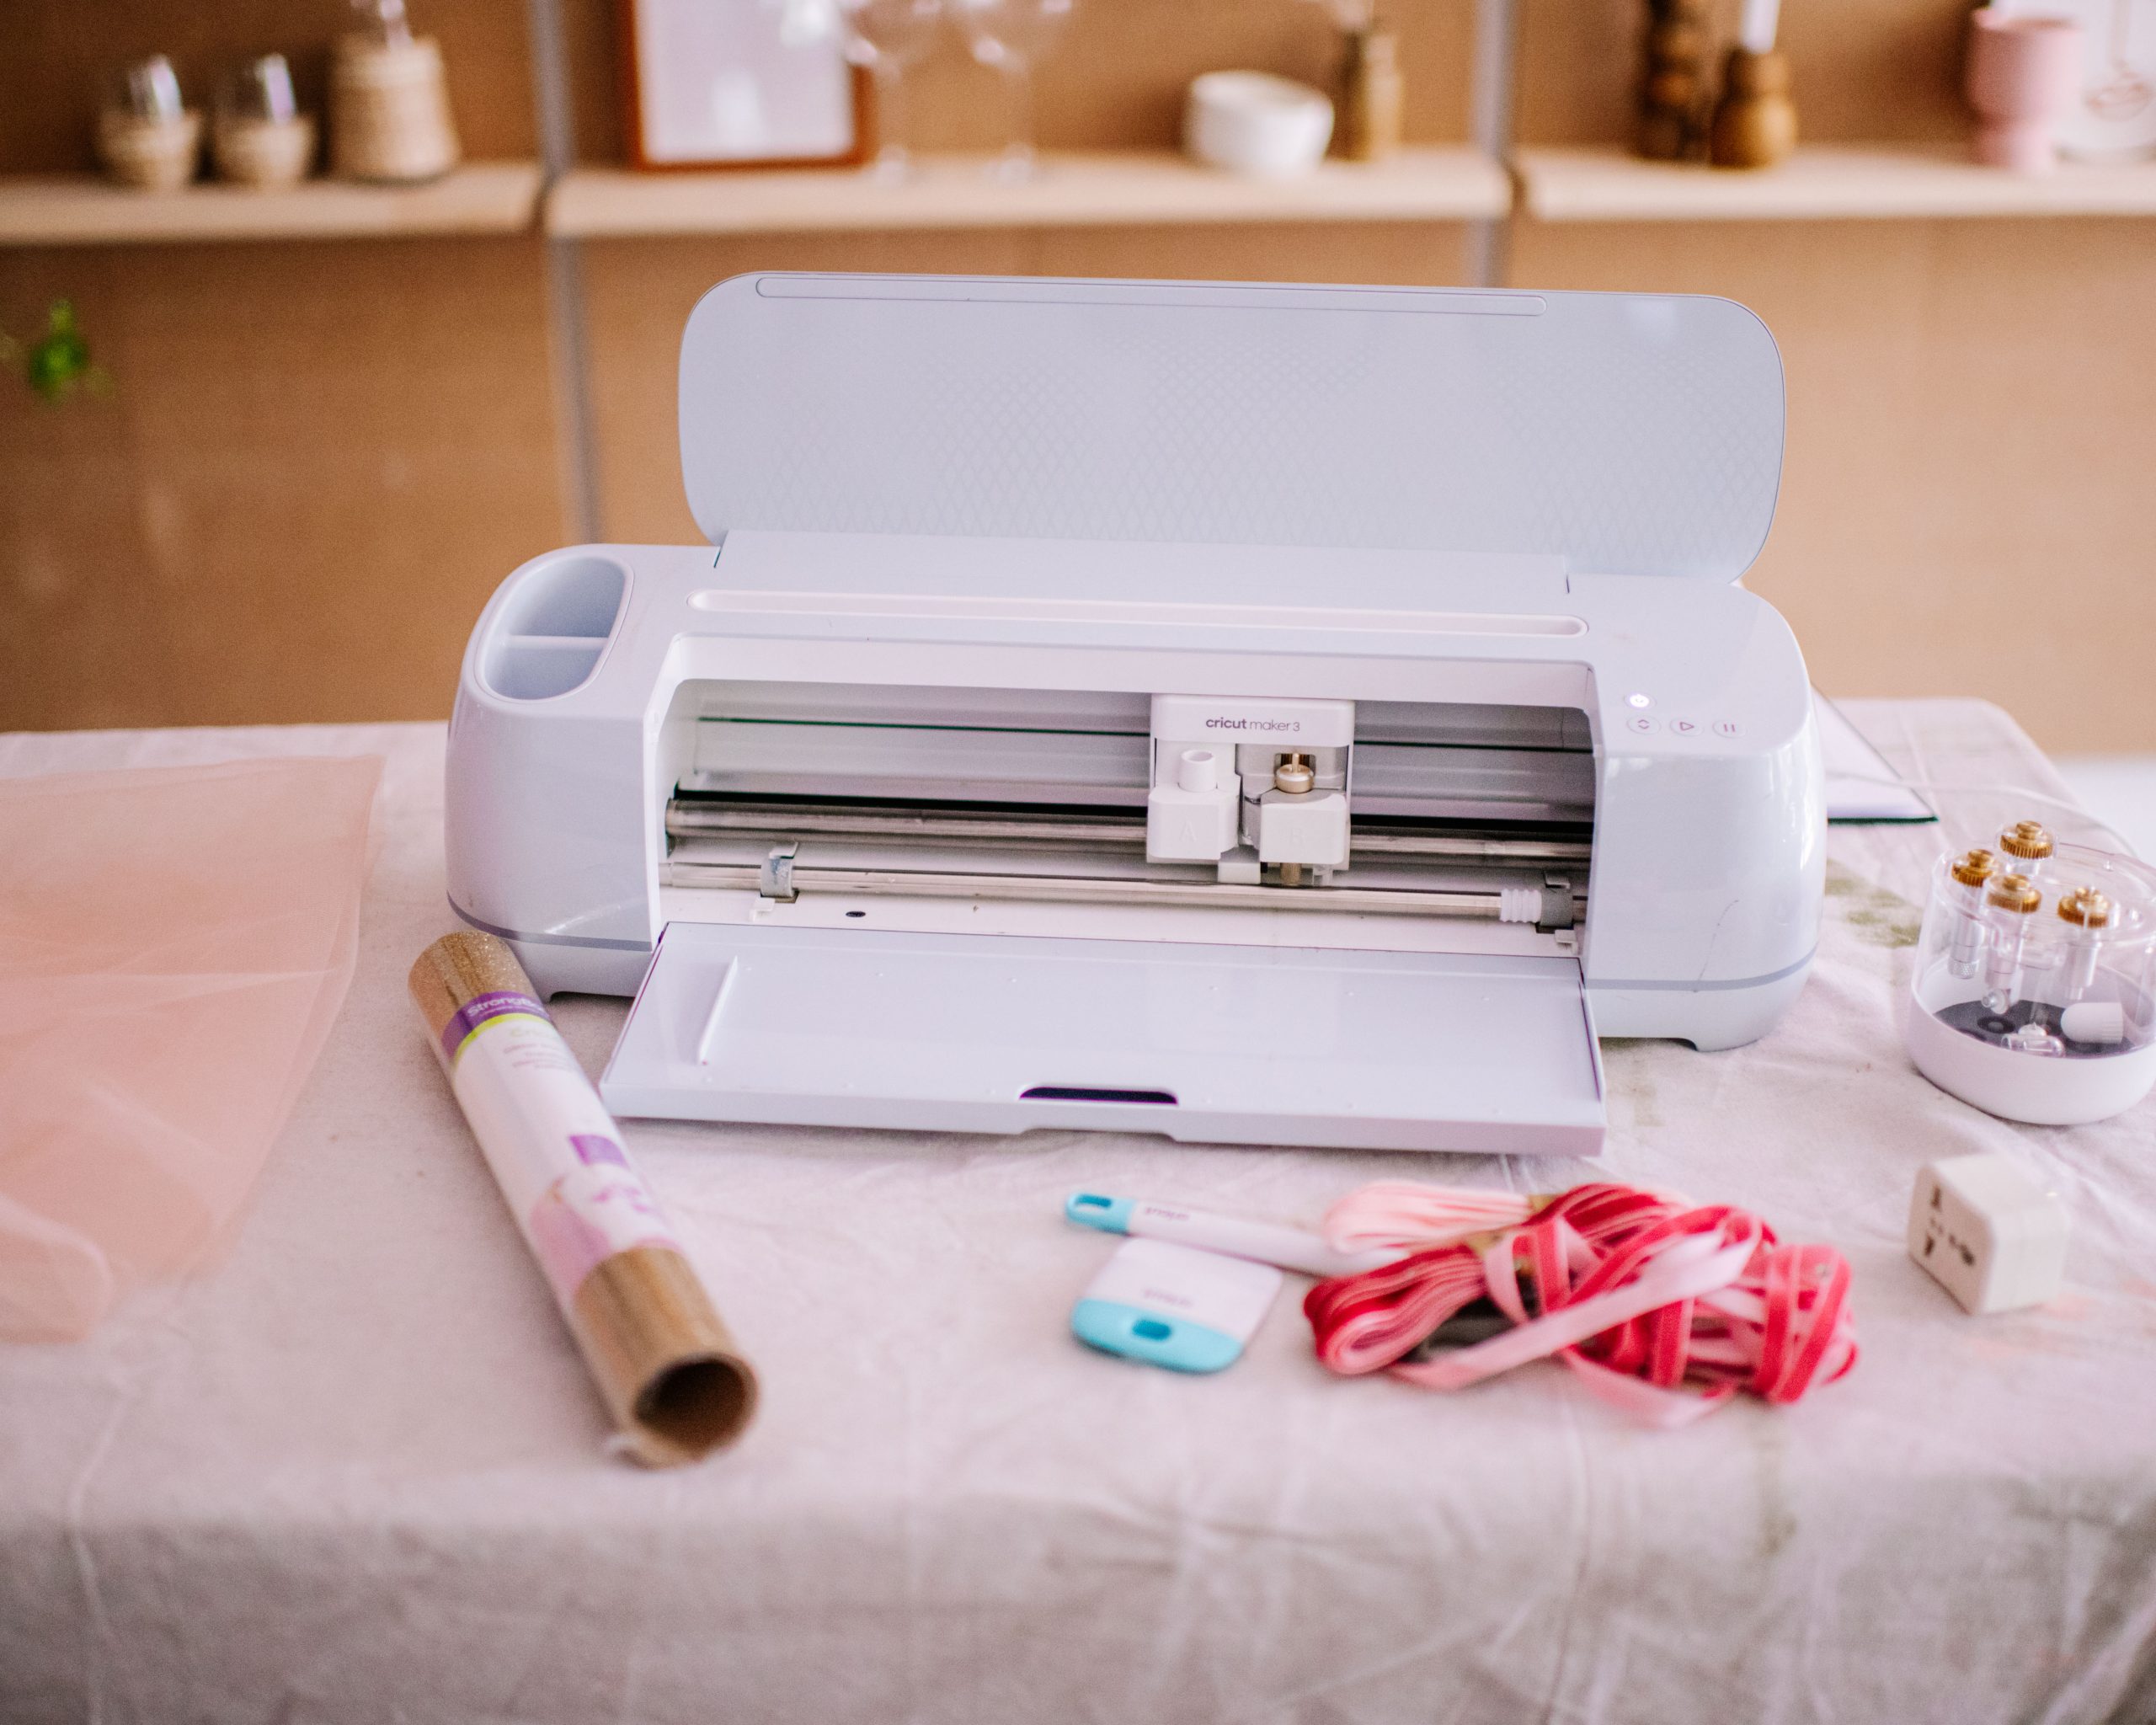
Frankie has been really into dressing up lately, so I decided to use the tulle to make a cape. Frankie has a love for anything glittery, so of course I had to add some glitter stars to give it that magical look.�Using my Cricut Maker 3 Machine and the Autopress, and some glitter gold Iron-On, I was able to create the most whimsical outfits for Frankie this Christmas!.
How to Create Your Star Designs
For this project, I needed stars. A lot of stars. The stars are really what made these pieces special, so I didn�t want to skimp on them. It was really easy to find a simple star shape on the Cricut Design Space app. I selected the star shape I wanted to use, sized it accordingly and then duplicated it to create an entire sheet of stars. Make sure you save this design as you�ll likely need to print it out a few times (I think I ended up printing 4 or 5 sheets).
Materials You�ll Need
Cricut Maker 3 Machine Autopressďż˝ Glitter Gold Iron-On Vinylďż˝ Weeding Tools Cricut Cutting Mat EasyPress Mat 2m of Tulle 1m of velvet ribbon A piece of fabric (I used a pink linen scrap I had)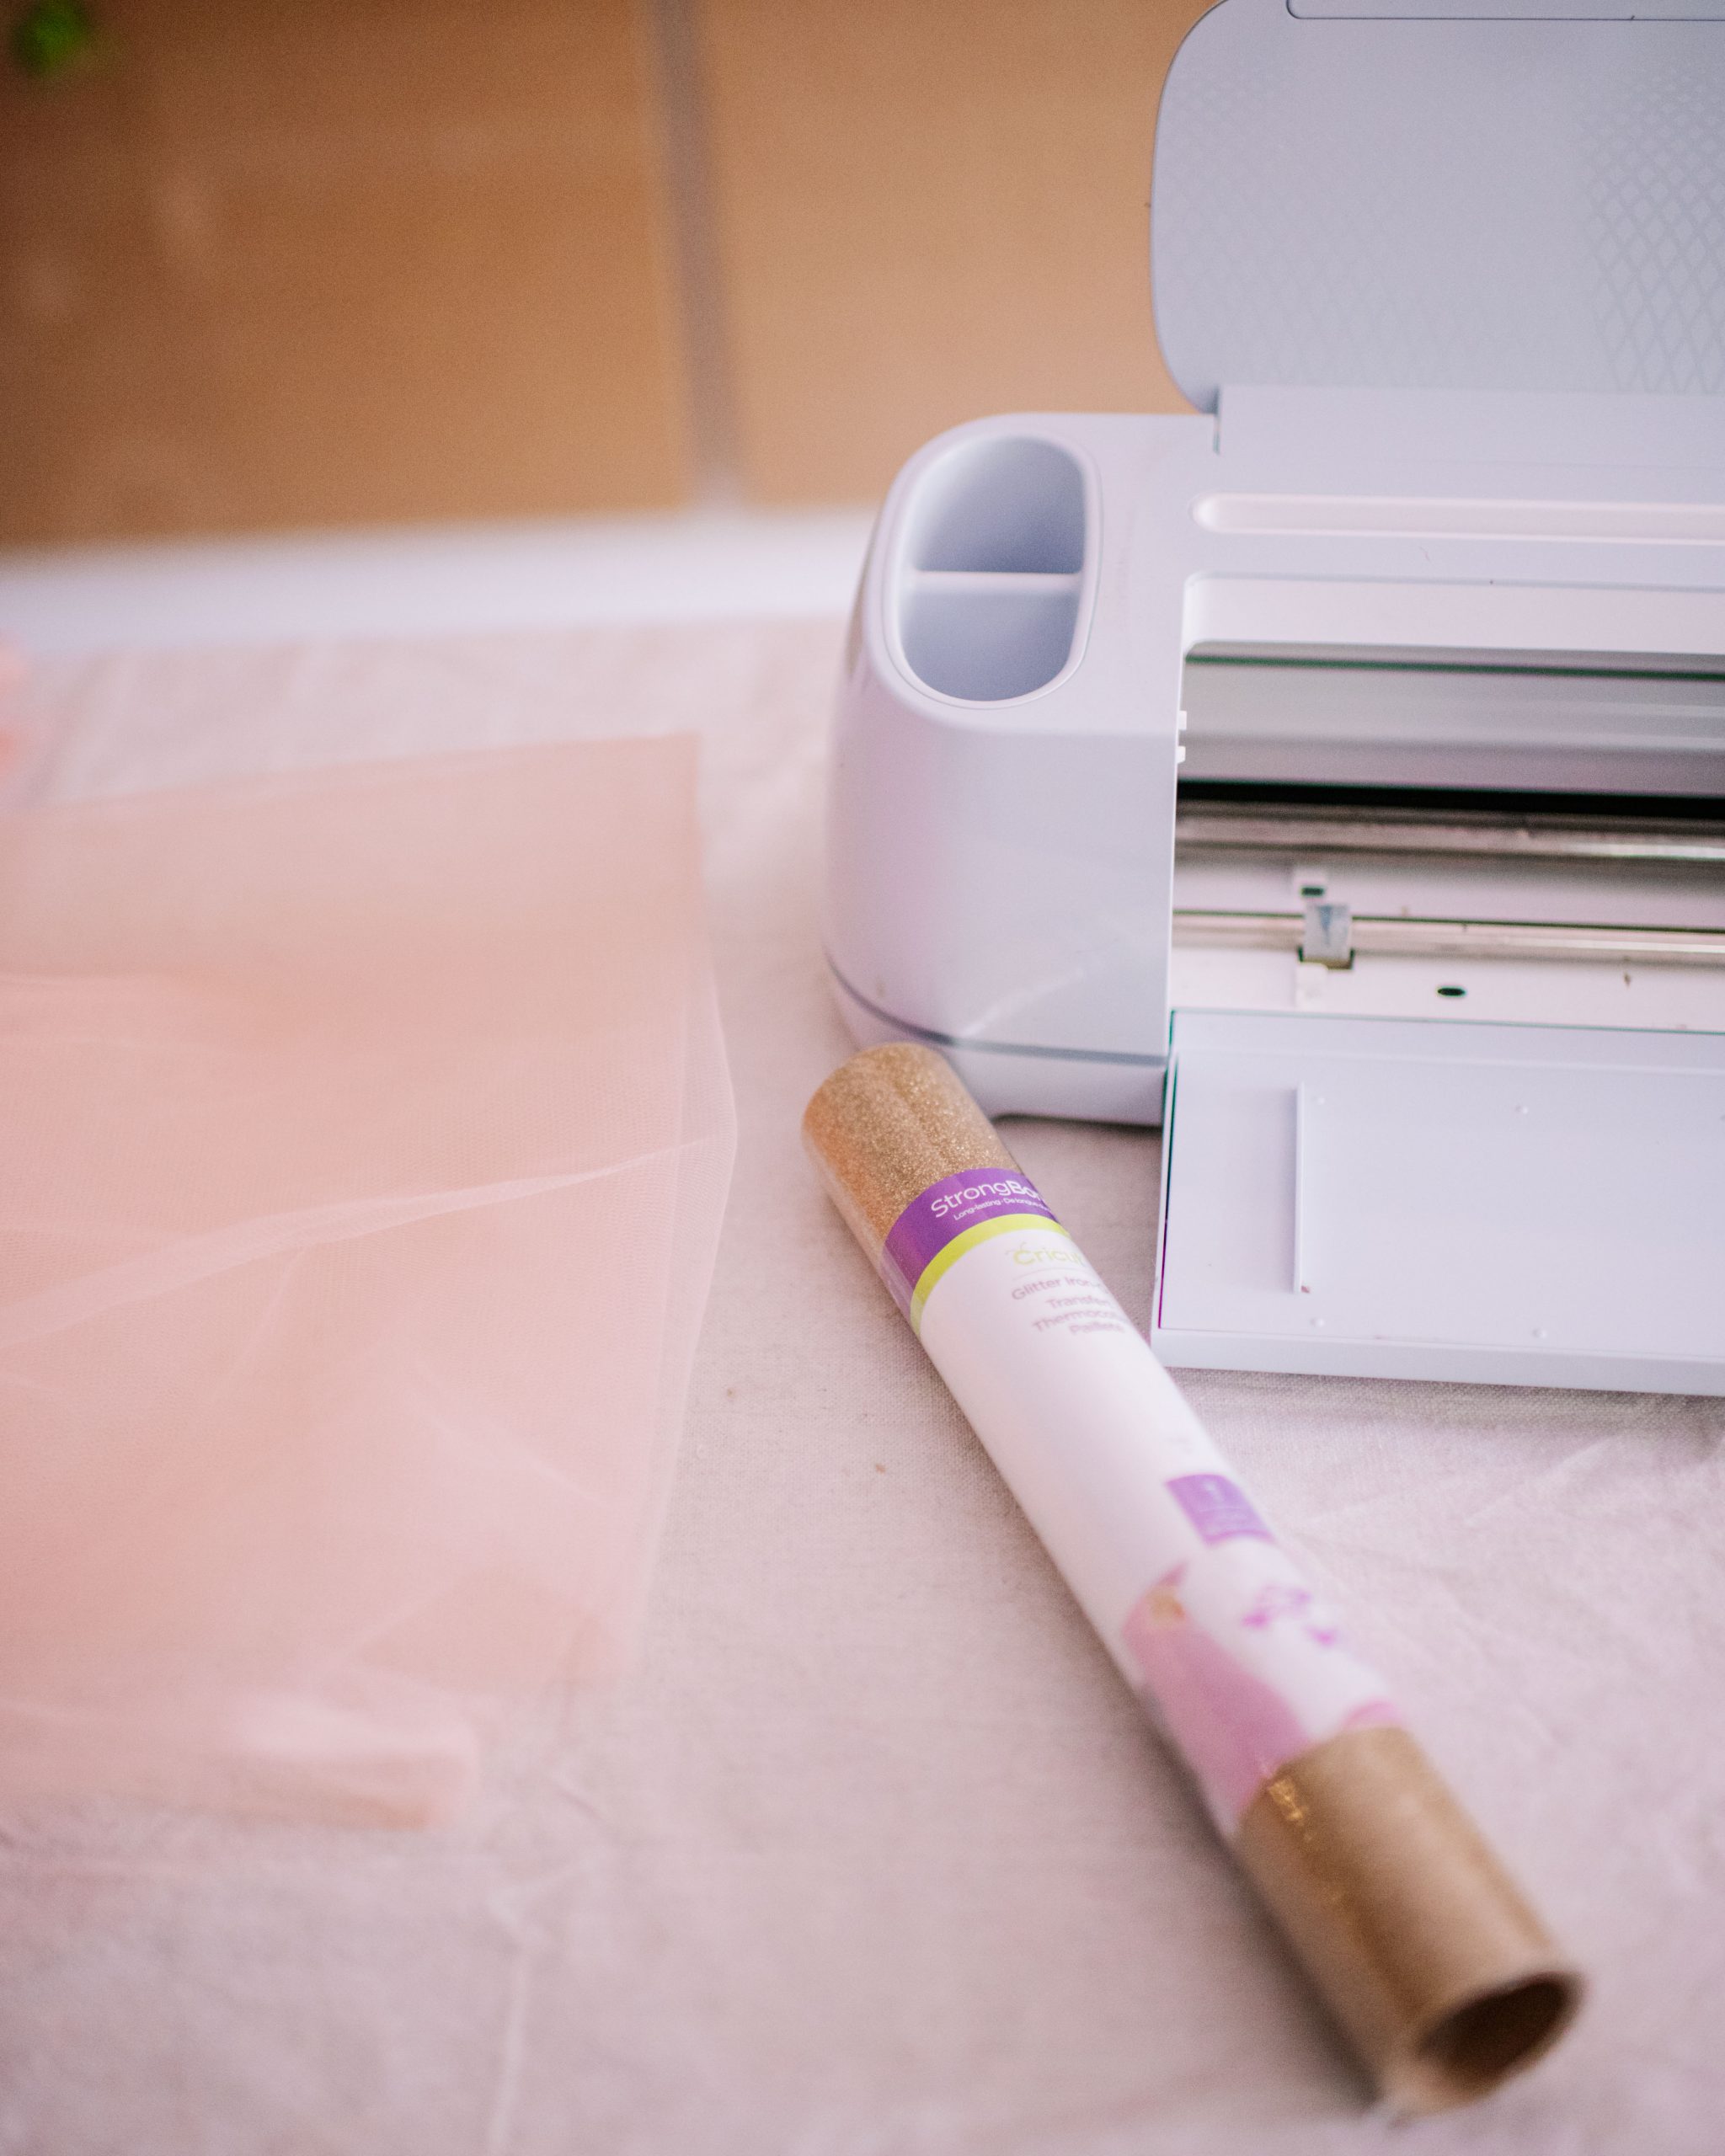
How To Make A Star Cape


 The first thing I did was cut the pieces of tulle to size, I checked Frankie�s height first to determine the length I wanted.
Then I selected and set up the star design in the Design Space app. Be sure to Mirror the image when using iron-on (I didn�t have to with the stars but it�s worth noting) and place the shiny side (clear liner) down on the mat before inserting into the machine.
I followed the prompts in the Design Space app to cut the stars from the iron-on material.
The next step was to use a Weeding Tool to remove the negative pieces of iron-on so just the stars remain on the clear liner. I then cut them out so they were individual stars.
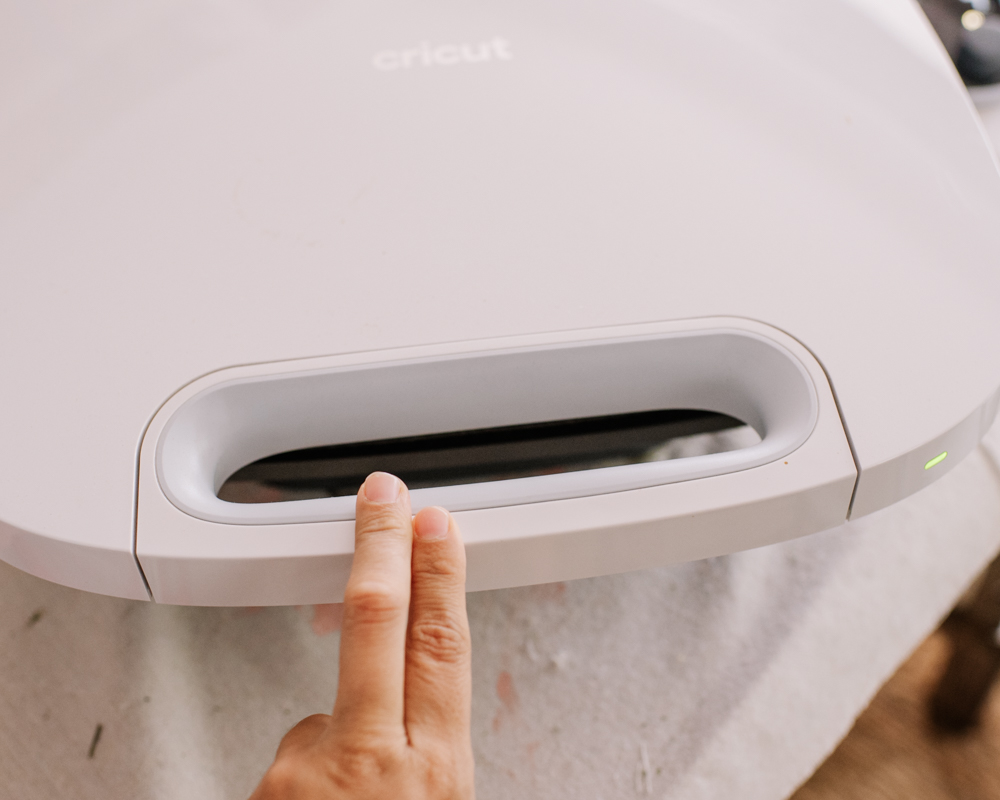
I then set up the Autopress, and used the heat guide to get the correct time and heat settings for this project. For glitter iron on that�s being placed onto polyester, it was 160 degrees for 30 seconds.
Once the press was preheated, I laid out my fabric on the mat, and scattered the stars (shiny side up) onto the fabric.
I then closed the Autopress and allowed it to automatically press the fabric. Once it was done I worked my way across the fabric.
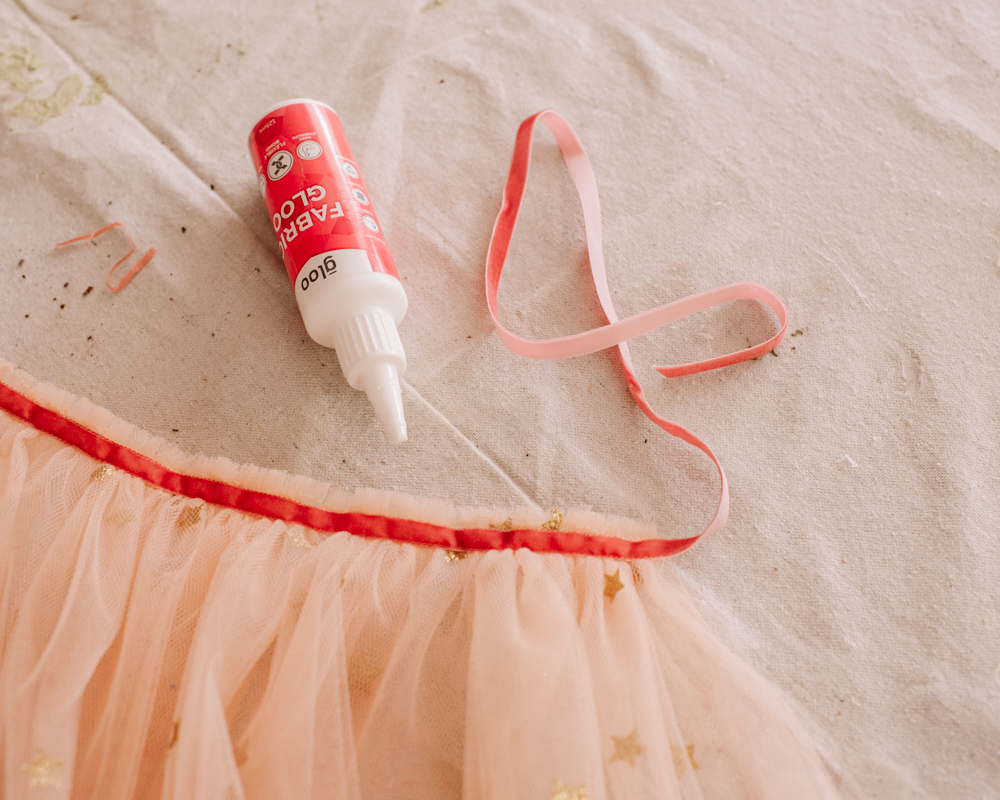
After all the fabric had been pressed, it was time to make the cape. This turned out to be so easy! I simply layered the four pieces of fabric together and then stitched a wide stitch all the way along the top. I then pulled it to gently gather it along the stitch. Once it was gathered to roughly the size of Frankie�s neckline, I did a return stitch to keep the gather in place.
Finally, I added a necktie of velvet ribbon on the outside of the cape along the neckline.
The first thing I did was cut the pieces of tulle to size, I checked Frankie�s height first to determine the length I wanted.
Then I selected and set up the star design in the Design Space app. Be sure to Mirror the image when using iron-on (I didn�t have to with the stars but it�s worth noting) and place the shiny side (clear liner) down on the mat before inserting into the machine.
I followed the prompts in the Design Space app to cut the stars from the iron-on material.
The next step was to use a Weeding Tool to remove the negative pieces of iron-on so just the stars remain on the clear liner. I then cut them out so they were individual stars.
I then set up the Autopress, and used the heat guide to get the correct time and heat settings for this project. For glitter iron on that�s being placed onto polyester, it was 160 degrees for 30 seconds.
Once the press was preheated, I laid out my fabric on the mat, and scattered the stars (shiny side up) onto the fabric.
I then closed the Autopress and allowed it to automatically press the fabric. Once it was done I worked my way across the fabric.
After all the fabric had been pressed, it was time to make the cape. This turned out to be so easy! I simply layered the four pieces of fabric together and then stitched a wide stitch all the way along the top. I then pulled it to gently gather it along the stitch. Once it was gathered to roughly the size of Frankie�s neckline, I did a return stitch to keep the gather in place.
Finally, I added a necktie of velvet ribbon on the outside of the cape along the neckline.
Bonus Project: The Star Wand


To complement this little outfit, on a whim I decided to make a little wand too. I cut out two large stars onto glitter iron on, and used the Autopress to press them onto fabric. I then cut the stars out and glued them together using a glue gun, leaving a small hole on one side. I stuffed them with batting to give the star a puffy shape, and then glued a stick into the hole and the edges shut. To finish it off I added some velvet ribbon in a bow.


ďż˝


ďż˝
I�m so in love with the way these turned out, they�re just so magical looking and definitely make me feel very festive!�I think following the same idea, you could also make some really cool pieces for festival outfits or even more children�s dress up pieces like a little tutu or fairy wings? The possibilities are endless.
This project is in collaboration with Cricut.
ďż˝
The post Making A Kid�s Star Cape Using My Cricut appeared first on Collective Gen.