Need signage that looks right in a shop full of antiques? Pot metal cast signs bring vintage appeal, classic detail, and a handcrafted look. The post Solder Pot Metal Signs for Antique Shop Displays appeared first on Muggy Weld.
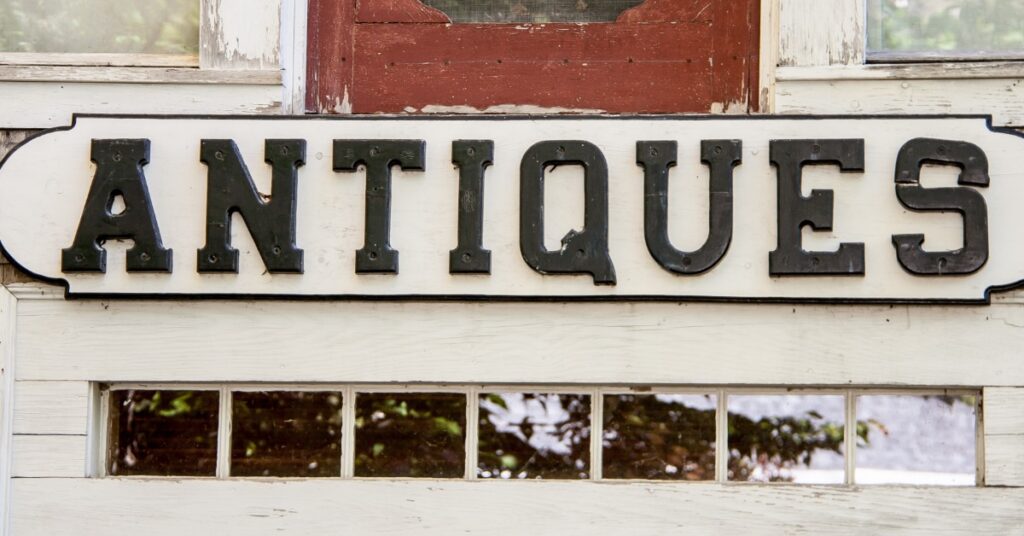
Pot metal signs have a way of pulling people in. You see one in a shop window or hanging on a wall, and it just fits. Maybe it’s the aged finish, maybe it’s the detail, maybe it’s the way it ties the whole space together.
Ever thought about making one yourself instead of hunting for the right piece? With the right setup and a little patience, soldering pot metal signs for antique shop displays becomes something you can take on in your own workspace.
What Are Pot Metal Signs?
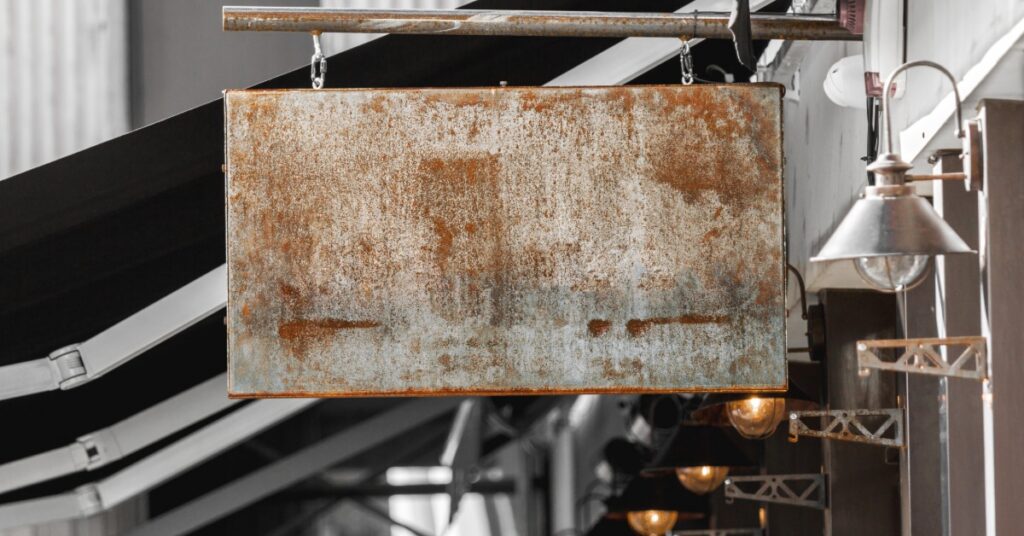
Pot metal signs are decorative or functional signs made from a low-melting blend of non-ferrous metals, often including zinc along with small amounts of lead, tin, copper, or aluminum. Antique shop displays use them because they cast into detailed shapes, letters, and ornate designs without the higher cost of brass or bronze. Their aged, vintage look fits right in on the wall, in the front window, or near the checkout counter of a business that sells antiques, collectibles, or other nostalgic goods.
What You Need to Make Pot Metal Signs
Before any soldering starts, it helps to have the full setup in front of you. Pot metal can be tricky because it melts at a lower temperature than many people expect, so the tools and materials need to match the job. Here’s a list of what you’ll want on hand before you take on this project.
- A pot metal base, casting, blank, or decorative sign piece
- A low-temperature solder made for delicate, low-melting metals
- A heat source with controlled output, such as a propane torch or soldering iron
- A suitable flux for cleaning the joint area and helping solder flow
- Abrasive pads, sandpaper, or small files for surface prep
- A degreaser or cleaner to remove dirt, oil, and oxidation
- Clamps, locking tweezers, or another way to hold parts in place
- Small shaping tools for detail work, edge cleanup, or fitting pieces together
- A wire brush or stainless brush for cleaning the work area before joining
- Safety gear such as gloves, eye protection, and ventilation
Some projects also call for patterns, molds, stamped letters, or cast decorative accents, especially when the sign needs an older, more ornate look. When all of those materials are ready before the heat comes on, the work goes a whole lot smoother and the finished sign has a better shot at looking clean and professional.
Soldering Pot Metal Signs Step by Step
Pot metal needs a lighter touch than many people expect. Too much heat can ruin detail, slump an edge, or leave you with a repair job instead of a finished sign. A cleaner result comes from good prep, close heat control, and patience at each stage.
Step 1: Clean The Surface First
Pot metal has to be clean before solder will bond to it. Old paint, oxidation, oil, and shop grime can block the solder and leave a weak joint. Wipe the area down with a degreaser, then use a file, abrasive pad, fine sandpaper, or a wire brush to expose clean metal. Focus on the exact area where the solder will go, along with a little space around it.
Step 2: Dry Fit the Pieces
Before you heat anything, set every part in place and check how it sits. Letters, borders, decorative pieces, and broken sections should line up the way you want them to look in the finished sign. If you’re working from patterns, molds, or stamped accents, this is the time to confirm the size and placement. If a part rocks, leaves a gap, or sits crooked, fix it now with light filing or trimming.
Step 3: Hold Everything in Position
Once the fit looks right, secure the parts so they can’t shift while you work. Small clamps, locking tweezers, or a simple jig can help hold the sign together without getting in the way of the joint. This step is important on thin cast sections and raised details where a small slip can throw off spacing or leave the piece looking uneven.
Step 4: Apply Flux Where the Solder Will Go
Flux helps the solder wet the surface instead of sitting on top of it. Brush or dab it only onto the joint area. Keep it controlled, especially on decorative work, because excess flux can spread solder into places where you don’t want buildup. Cleaner placement here gives you a neater seam later and cuts down on filing after the joint cools.
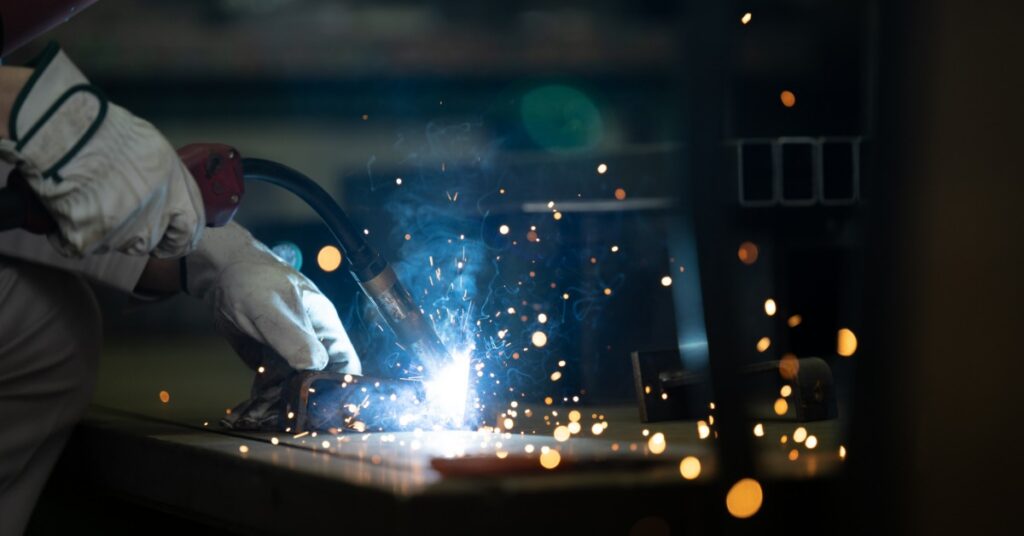
Step 5: Warm The Metal Slowly
Pot metal doesn’t handle aggressive heat well, so bring the temperature up slowly with a controlled heat source such as a propane torch or soldering iron. Don’t park the heat in one place and don’t rush the process. Move it carefully and watch the metal closely as it warms. You’re trying to get the base metal hot enough for the solder to flow, not push the casting to the edge of melting.
Step 6: Touch The Solder to the Joint
When the metal is warm enough, touch the low-temperature solder to the joint and let the heat in the work pull it across the seam. Don’t melt the solder with the torch or iron alone if you can avoid it. You want the joint itself to accept the solder. Feed in a small amount at a time so you can keep the line clean, especially around letters and decorative edges.
Step 7: Let It Cool on Its Own
After the solder has flowed, leave the sign alone until it cools naturally. Don’t press on it, shift it, or start cleanup too soon. Fresh joints can move before they fully set, and even a slight shift can ruin the alignment you just worked to get right. A few extra minutes here can save you from redoing the whole area.
Step 8: Clean Up the Finished Joint
Once the metal is cool, remove any leftover flux residue and inspect the soldered area. Light filing, sanding, or brushing can smooth the seam and help it blend into the rest of the sign. Go slowly around decorative sections so you don’t wipe out the aged look that gives pot metal signs their appeal. A good cleanup job leaves the repair secure and the sign looking like one complete piece.
Bringing It All Together
Once you’ve gone through the process, you start to see how each step builds on the last. The prep, the fit, the heat control, all of it shows up in the final piece. You end up with something that looks like it belongs right alongside older fixtures and displays, not something that stands out as new work.
If you want to solder pot metal signs for antique shop displays, Muggy Weld has the affordable, high-quality maintenance welding supplies you need to do so! Our low temperature solders are especially useful for a project like this because they allow you to work with controlled heat, protect delicate cast details, and keep your sign looking clean and consistent from edge to edge. Stock up today.
The post Solder Pot Metal Signs for Antique Shop Displays appeared first on Muggy Weld.